MCP tools can open real UI

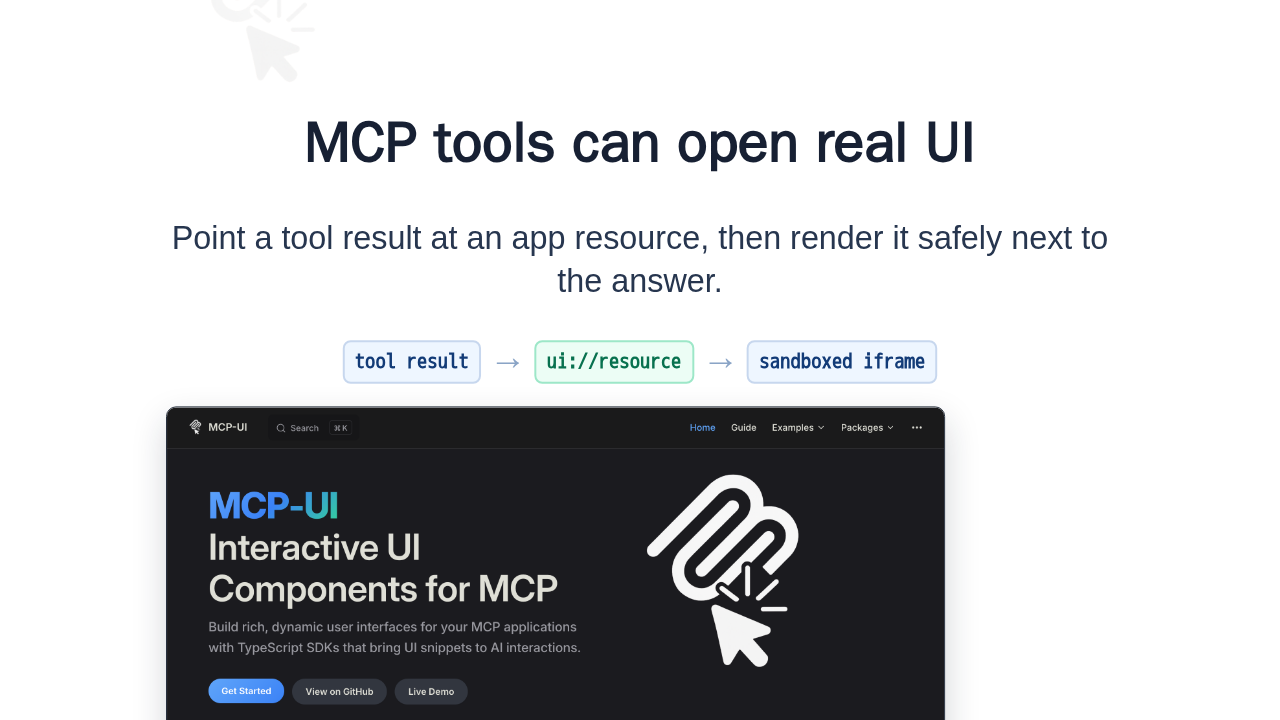
Point a tool result at an app resource, then render it safely next to the answer.

MCP-UI is a set of SDK packages for putting interactive apps beside MCP tool results. Instead of returning only text, a tool can point to a UI resource, and a host can render that resource in a sandboxed iframe.
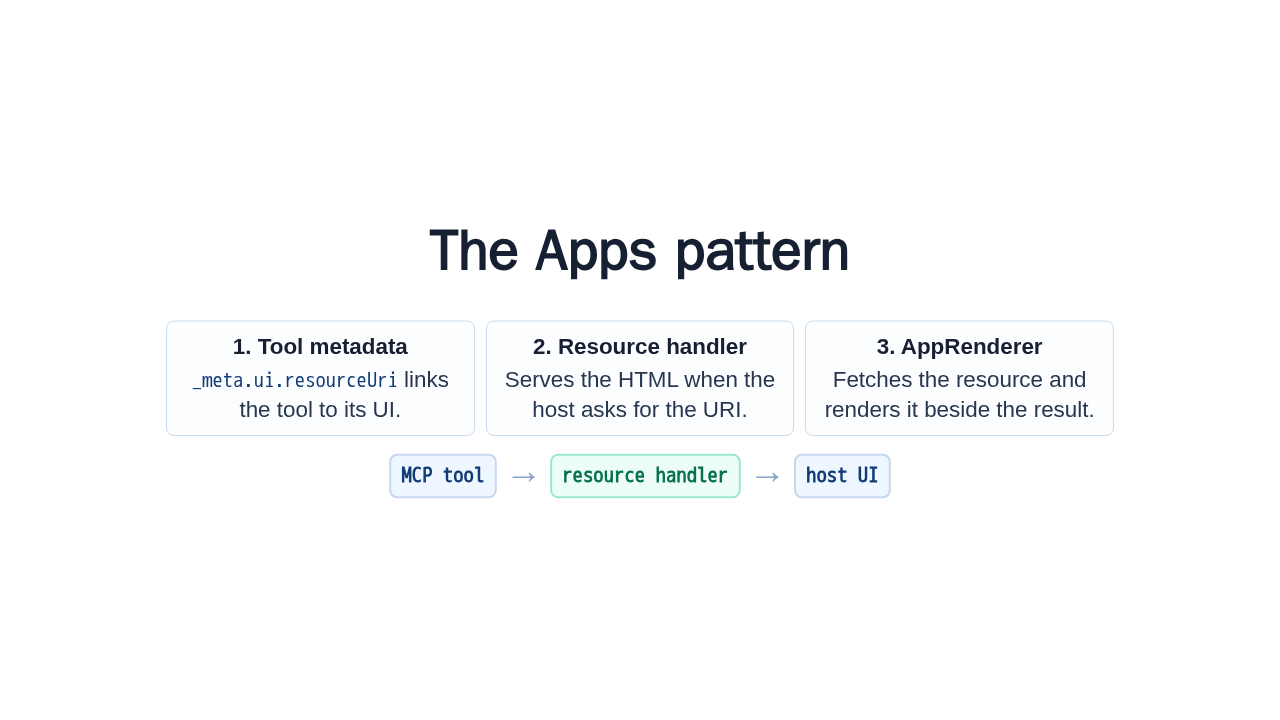
The Apps pattern
_meta.ui.resourceUri links the tool to its UI.
The current docs frame this as MCP Apps. The pattern has three pieces: a tool with underscore meta dot UI dot resource URI, a resource handler that serves the HTML, and AppRenderer on the host side to fetch and render the UI next to the tool result.
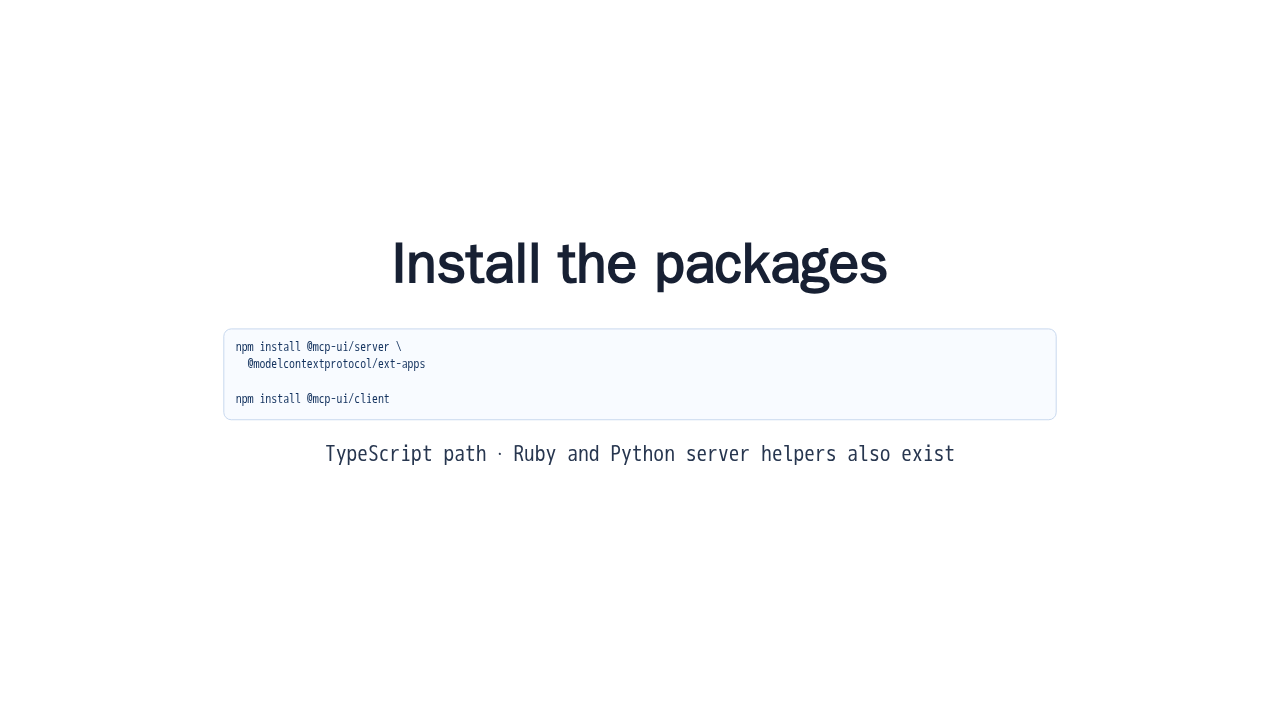
Install the packages
npm install @mcp-ui/server \
  @modelcontextprotocol/ext-apps

npm install @mcp-ui/client
TypeScript path · Ruby and Python server helpers also exist
For the TypeScript path, install the server package plus the MCP Apps extension package, then install the client package for the host. The docs also list Ruby and Python server helpers, but the clearest first win is the TypeScript flow.
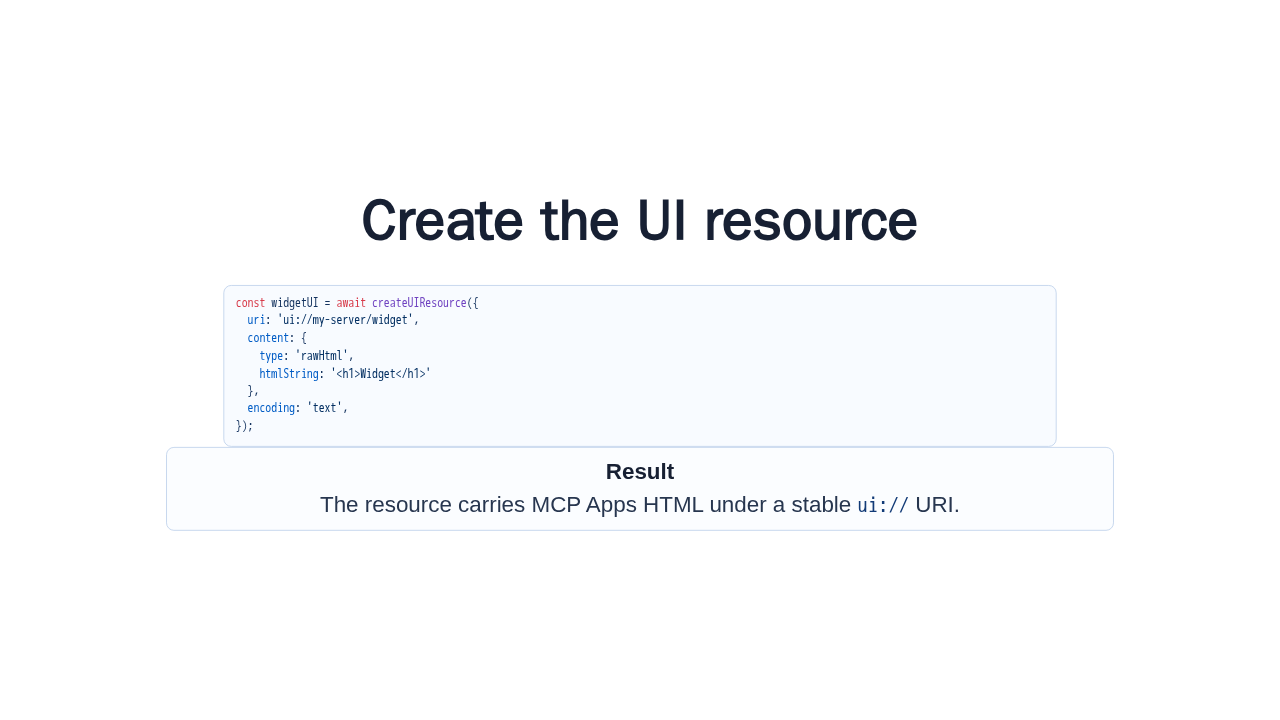
Create the UI resource
const widgetUI = await createUIResource({
  uri: 'ui://my-server/widget',
  content: {
    type: 'rawHtml',
    htmlString: '<h1>Widget</h1>'
  },
  encoding: 'text',
});ui:// URI.
Start on the server. createUIResource gives the widget a UI scheme URI and stores the HTML as a text resource. In the quick start, that HTML can include MCP Apps client code so the widget can receive tool input and send messages back through the host.
Link the tool to the resource
registerAppResource(
  server,
  'widget_ui',
  widgetUI.resource.uri,
  {},
  async () => ({ contents: [widgetUI.resource] })
);

registerAppTool(server, 'show_widget', {
  description: 'Show interactive widget',
  inputSchema: { query: z.string() },
  _meta: {
    ui: { resourceUri: widgetUI.resource.uri }
  }
}, async ({ query }) => ({
  content: [{ type: 'text', text: `Result: ${query}` }]
}));
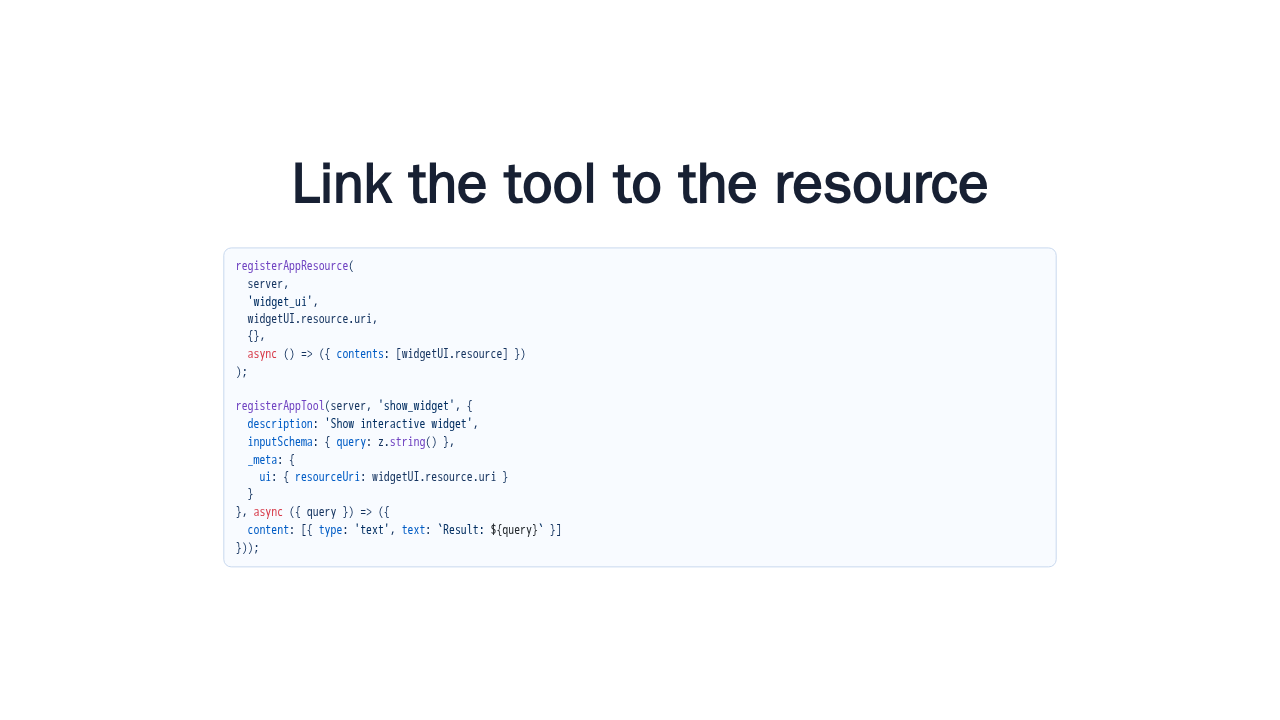
Next, register the resource handler, then register the tool. The important field is underscore meta dot UI dot resource URI. That is the link the host sees when it calls the tool, and it tells the host which UI resource to fetch.
Render it in the host
<AppRenderer
  client={client}
  toolName={toolName}
  sandbox={{ url: sandboxUrl }}
  toolInput={toolInput}
  toolResult={toolResult}
  onOpenLink={handleOpenLink}
  onMessage={handleMessage}
  onError={handleError}
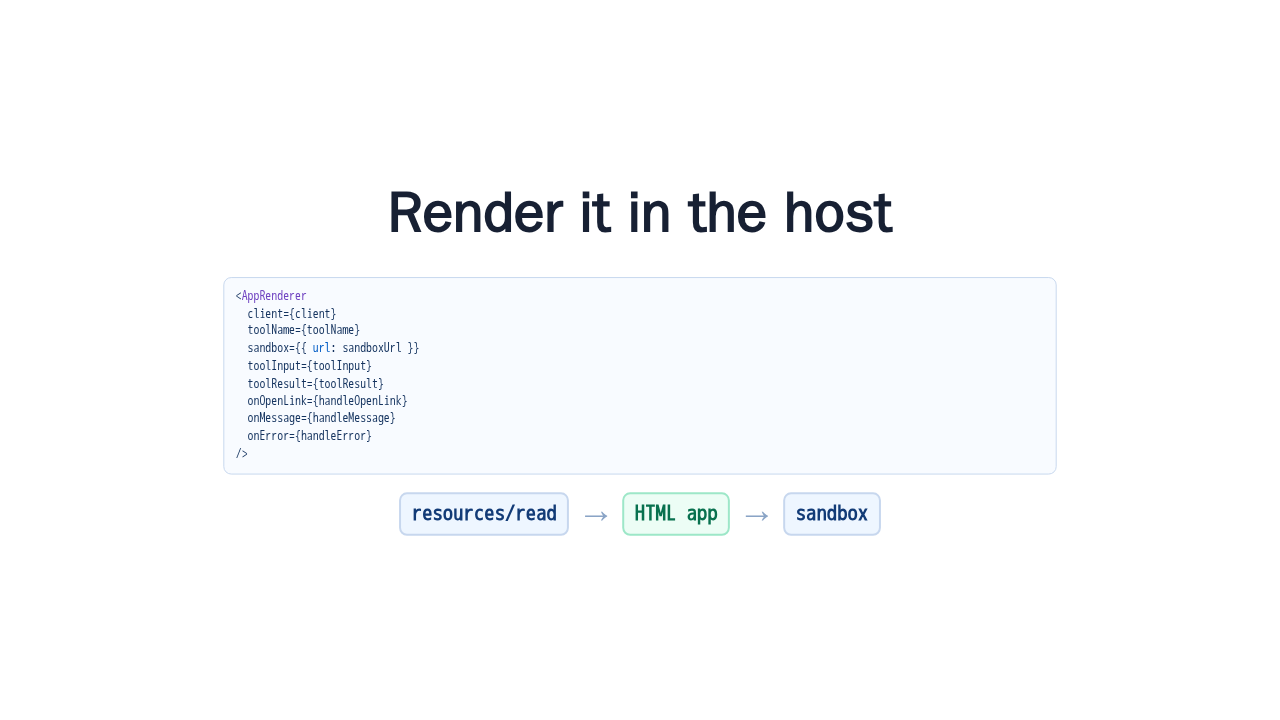
/>On the client side, AppRenderer takes the MCP client, the tool name, input, result, and a sandbox URL. It reads the resource, loads the HTML inside the sandboxed frame, and wires link handling, messages, and errors through callbacks.
Start from the Introduction
- Create a UI resource with
ui://. - Serve it through a resource handler.
- Link it from
_meta.ui.resourceUri. - Render it with
AppRenderer.
mcpui.dev/guide/introduction · Apache-2.0 · MCP Apps
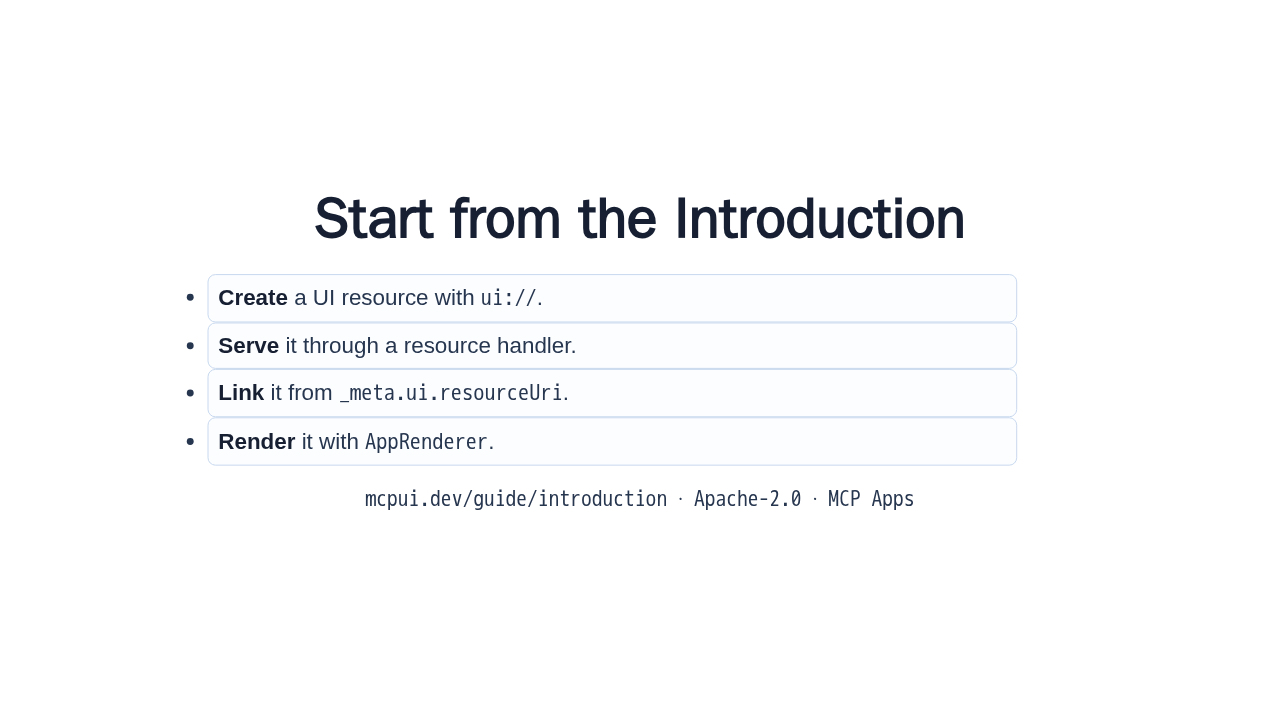
That is the first pass: create a UI resource, expose it with a resource handler, link it from the tool metadata, and render it with AppRenderer. Start with the Introduction and Getting Started pages at mcpui dot dev.